
Get an Edge on Documenting Research:
The first
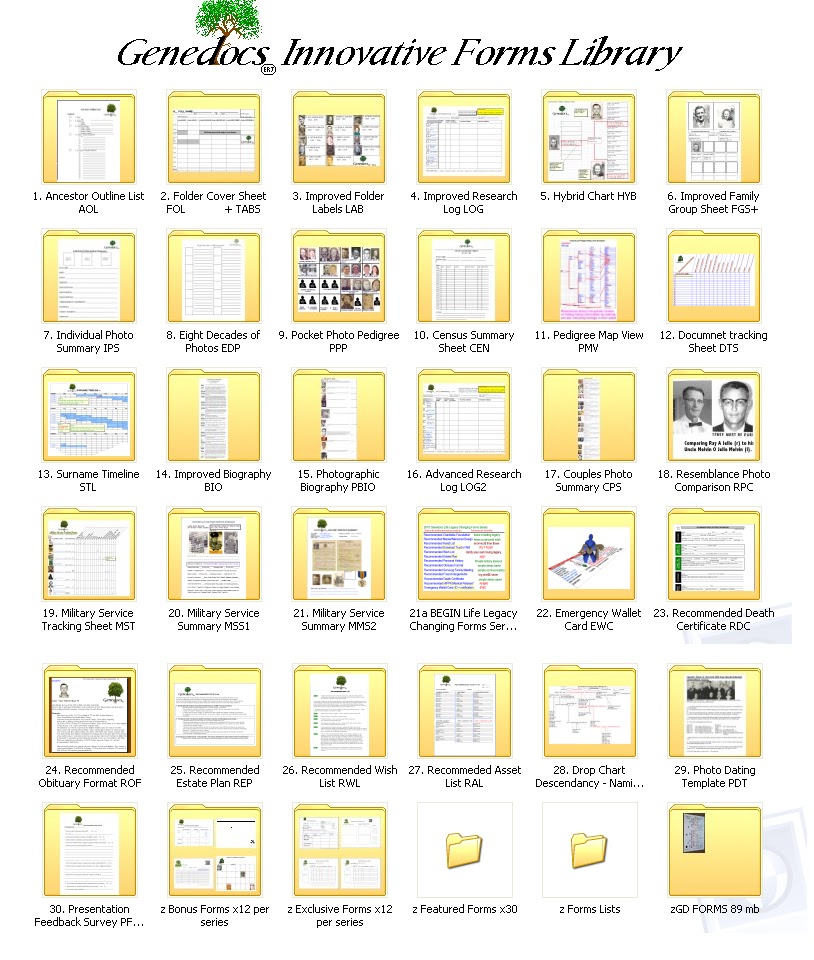
featured form this month is the Research Log which is a no nonsense template
that researchers can use with every new finding to capture and categorize
additional information and source citations all on one form. Many times researchers just rush in to get
the information they are looking for and don’t bother to jot down where they
are finding it which can later come back for a haunting head scratching
moment. A research log prevents those
moments by reminding you to be thorough from the start. Organizing your ancestors into individual
file folders also keeps you self organized just like keeping file folders in
one common place such as a box of file cabinet.
Folder labels give you an edge by keeping those files in a simple
sequence; be it alphabetical, numerical, or any other helpful filing sequence. You can clearly see the advantages of the
three forms in this issue and how they will give you an edge on the
documentation of you research.
Establish a Solid
Foundation for Staying Organized:
The File Folder
Cover Sheet is also one of several ways to set a solid foundation to stay
organized. The template of the sheet
clearly organizes individual information on each ancestor for a quick at a
glance summary of what has been found band filed by category and what remains
to be sought out. Things not listed on
the folder cover sheet are the precious tidbits that end up in the file folder
itself.
Whenever taking notes be sure to date every page and list
your source and source location. This
alone can save you hours on file management.
Keep you files organized by name, pedigree number, or any method that
will help you retrieve information easily and quickly.
Utilize Visual Aids for Quick Reference Information
Retrieval:
The third featured from in this issue,
being the Photographic Folder Label template, is one of several very useful
visual aids key to providing quick reference information retrieval. The retrieval by portrait recognition versus
name or number system creates a personal quick reference dimension that most
filing systems lack. Seniors
particularly find this feature helpful since a picture is worth a thousand
words. Why? Because it allows a researcher to take advantage
of personal experience yet it is backed up with a number and names for others
to find who are not familiar with faces.
What Family Research
Means to You:
Is your research
a hobby, a passion, an obsession, an education, a mystery, a part of your
identity, a therapy, or a clue to your destiny?
For those who have dug deeply into their roots the answer to all of the
above may be yes and even much more. For
those just starting it may just be a hobby or challenge. Since researching family is a journey the
meaning of research grows with time and effort invested. Similarly the meaning is also reflective like
a mirror of your daily life events. Enjoy
every moment of your journey as it takes you down each unexpected path.
Interviewing
Relatives:
Since time is the
enemy when it comes to getting research answers from older living relatives the
rule of thumb is start with the oldest and work your way to the younger
generations just to maximize the opportunity from who has the most years full
of memories of family experiences. Be
sure to be respectful and be prepared with questions and memory jogging photos
you may need help with identifying individuals.
Do not force audio or video taped interviews out of respect for others
wishes- just be sure to take good notes if they decline the media interview
methods. The new research log may be
very effective in an interview, but supplement it with notebook paper notes of
the interview questions and answers. Once you are finished be sure to sincerely
thank every relative that you interview and offer to provide some help to them
in return – perhaps a copy of the family tree you are working on, providing an
heirloom photo chart, helping them chores around the house or even with
organizing some scrapbooks or photo albums.
After all, a second friendly visit usually can’t hurt.
Organizing Photos on
Your Computer:

Before I begin
explaining this subject I do agree there are amazing programs like Google.com’s
Picasa that can help organize your photos on your computer. However, these programs usually don’t thing
like a genealogist and sort them into individual portraits, family groups,
couples, special events, etc. so it is
probably best to start sorting them and electronically filing them on your own
first. Most programs such as windows
allow you to view computer folders and files in many different ways. Some settings let you preview pictures on a
file folder cover even before you click to open it. A great folder view option is thumbnail view
or slideshow view available on newer versions of MS Office. Using this view allows you to create new
folders and simply click drag and drop all the applicable thumbnail pictures
into the file folder you want them in. Organize
your folders into common areas for photos such as:
Individual
Portraits
Family
Groups (couples with children present)
Places
(where they lived, worked, served in military, etc.)
Other
Events
Mystery
Photos
After you organize your folders to your liking then just
scan pictures, save them, and drop and drag them into the folders where you
would like them stored for later reference.
If you use software to enhance or restore your photos you may seriously
want a separate folder for “Enhanced Restored Photos” so you can keep original
scans intact. I do strongly recommend
back up saving rare or one of a kind photos by burning them to CD or flash
drive and of course printing a quality copy on photo quality paper for each
ancestor’s or relatives hardcopy file folder.
Essentials of Scanner
Use:
The above image is a bitmap scan with greater clarity than a JPEG!
While we are on
the subject of scanning photos to your PC of CDs it is important to note the
essentials. First keep the scanner
glass clean and dust free. Second gently
wipe off any dust from the original photos prior to laying face down on the
scanner glass. Before saving scans be
sure to choose the size, cropping, and format (jpeg (medium quality = small
memory space) bitmap (high quality = large memory space) etc) that you require.
Don’t leave your originals on the
scanner especially if you are using someone else’s scanner.
No comments:
Post a Comment